Baking artisan bread at home is not just a skill; it’s a fulfilling journey that fills your kitchen with irresistible aromas and your heart with joy. In this guide, we’ll take you step-by-step through the essential techniques, tips, and recipes to create loaves that rival any bakery. Let’s dive into the world of artisan bread baking!
Why Artisan Bread?
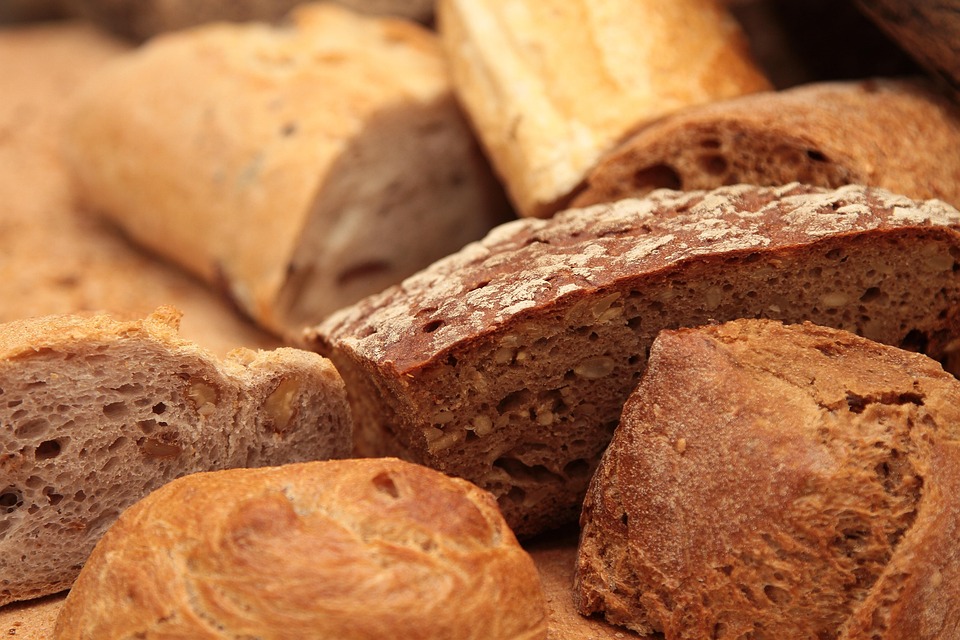
The Allure of Artisan Bread
Artisan bread is characterized by its unique flavor, chewy texture, and crusty exterior. Unlike commercial bread, artisan loaves are often crafted using traditional methods and high-quality ingredients. The result? A product that tantalizes the taste buds and elevates your culinary experience.
Health Benefits of Baking Your Bread
Baking bread at home allows you to control the ingredients, helping you avoid preservatives and additives commonly found in store-bought bread. Additionally, you can experiment with whole grains, seeds, and nuts, boosting the nutritional value of your loaves.
Essential Ingredients for Artisan Bread
To achieve that perfect loaf, you need the right ingredients:
Basic Ingredients
- Flour: Preferably unbleached bread flour or a mix of whole wheat and all-purpose flour.
- Water: Filtered water at room temperature.
- Yeast: Active dry yeast or instant yeast.
- Salt: Sea salt or kosher salt enhances flavor.
- Optional Add-ins: Seeds, nuts, herbs, or dried fruits for added flavor and texture.
Tips for Choosing Ingredients
- Flour: Look for flour with high protein content (above 12%) for better gluten development.
- Yeast: Check the expiration date on your yeast package to ensure freshness.
The Art of Kneading and Shaping
Kneading Techniques
Kneading is essential for developing gluten, which gives bread its structure. Aim for a smooth and elastic dough. Here’s how:
- By Hand: Fold and push the dough with the palms of your hands for about 10 minutes.
- Using a Stand Mixer: Use the dough hook attachment on medium speed for about 5-7 minutes.
Shaping Your Dough
Proper shaping helps create tension in the dough, resulting in a beautiful rise:
- Gently flatten the dough on a lightly floured surface.
- Fold the edges towards the center, then roll it into a tight ball.
- Place the seam side down and let it rest briefly before transferring it to a proofing basket.
Mastering the Baking Process
The Perfect Oven Setup
To achieve that coveted artisan crust, follow these baking tips:
- Use a Baking Stone: Preheat a baking stone or a heavy-duty pizza stone in the oven for at least 30 minutes.
- Steam: Create steam by placing a metal pan in the oven while it preheats. Pour boiling water into the pan just before placing your bread in to create a crusty exterior.
Ideal Baking Temperature
Bake your artisan bread at a temperature of 450°F (232°C). The steam and high heat work together to create that beautifully risen crust.
Simple Artisan Bread Recipe
Easy No-Knead Bread Recipe
Ready to get baking? Here’s a straightforward no-knead bread recipe to start your artisan journey:
Ingredients
- 3 cups bread flour
- 1½ teaspoons salt
- ½ teaspoon instant yeast
- 1½ cups warm water (about 110°F or 43°C)
Instructions
- Mix Ingredients: In a large bowl, whisk together flour, salt, and yeast. Gradually stir in warm water until fully combined.
- First Rise: Cover the bowl with plastic wrap and let the dough rise at room temperature for 12-18 hours, or until bubbly and doubled in size.
- Shape the Dough: Lightly flour a work surface and turn the dough out. With floured hands, shape the dough into a round loaf.
- Second Rise: Transfer to a floured proofing basket or bowl. Let it rise for 1-2 hours, covered with a damp cloth.
- Bake: Preheat your oven to 450°F. Place the dutch oven inside to heat. Once hot, carefully place the dough inside, cover, and bake for 30 minutes, then remove the lid and bake for an additional 15 minutes until golden brown.
- Cool: Let the bread cool completely on a wire rack before slicing.
Final Touches and Storage Tips
Storing Your Bread
To keep your bread fresh, store it in a paper bag at room temperature for up to 2 days. For longer storage, slice it and freeze the pieces in a zip-lock bag.
Enjoying Your Creation
Slice your artisan bread, slather it with butter, or use it to create delicious sandwiches. The possibilities are endless!
Call to Action: Bake Your Own Artisan Bread!
Now that you have the tools and knowledge to master artisan bread baking, grab your apron and start experimenting! Share your baking journey on social media with #ArtisanBreadAtHome, and don’t forget to invite friends over for a bread-tasting party. Happy baking!
Comments are closed.